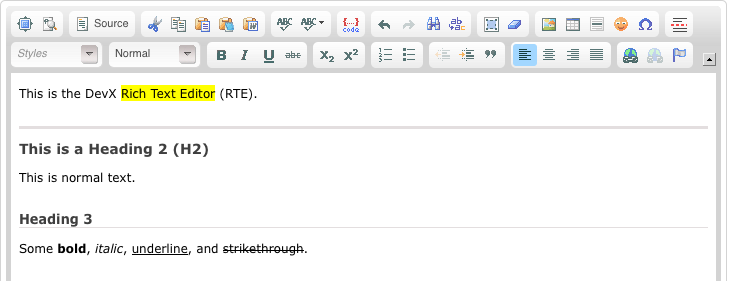
Using the Rich Text Editor
Most of the content types allow the user of a Rich Text Editor (RTE) for editing the body of the content. Using the RTE is similar to using Microsoft Word et al, though it does help to have a basic understanding of HTML. Remember that ultimately what you're outputting is HTML, so the content you produce needs to be valid HTML. Though the RTE will help your produce valid HTML, it is still possible to 'outsmart' the editor, and at times it may not be possible to produce the HTML you desire via the RTE. In that case, you can either click the Source button in the RTE toolbar, which allows you to directly edit the HTML.
Note: Use the full-screen mode (icon in the top-left corner of the RTE
) for much easier editing. Note that you will need to exit full-screen mode (click the icon again) before you can save your content.
We're not going to cover every detail of the RTE here; for more on the basic operations of the editor, see this user guide. However, we do need to cover the use of images in a little detail.
Inserting content
Unfortunately it's generally non-trivial to insert pre-existing content into the RTE. Pasting directly into the RTE always pastes in unformatted text, which you'll then need to reformat. There are two tools to make the process easier.
- HTML: Click the Source icon
 to switch to HTML source view. Then, if you have pre-existing HTML, you can paste that directly into the Source view.
 - Word: There is rudimentary Word paste support. Copy (ctrl-c) the content from your Word document. Then click the Word clipboard icon
 , and paste the Word content. Unfortunately this is not a 100% solution, as you lose images and some complex formatting, but it's a start.
 - Source code (SQL, XML, Java etc.): See the Code Blocks page.
Note that the security settings of some browsers, such as FireFox, by default prevent direct pasting into the Rich Text Editor. To overcome this limitation:
- For FireFox, please install this plugin (you will need to restart your browser).
- For some versions of Internet Explorer, you may be presented with a dialog asking whether you want to allow access to your clipboard. Click
Allow Access.
Images in the RTE
DevX uses images extensively. On a typical Article page, you'll have: the author avatar (the author's profile picture); a cover image; and zero or more embedded (or inline) images in the content. The author avatar is set via the My Account link in the top-right corner of the main site, and is not tied to a particular piece of content. The Cover Image is set via the Cover Image field in the Content Editor, not in the Rich Text Editor itself. Embedded images, that is images in the body of the content, are set via the RTE.
Finding Cover Images
There are many places on the Internet where you can get interesting images, particular to use as a Cover Image (flickr.com being a prime example). However, before you use such an image, it must either be explicitly freely available for re-use, or you must get permission from the copyright owner.
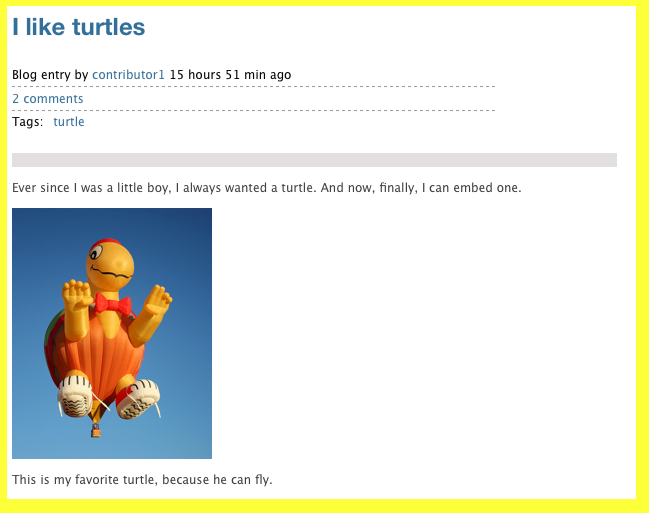
So, let's say you're creating a blog post...
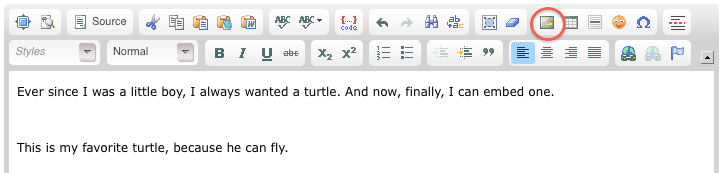
You want to insert an image at the cursor. Click the Insert/Edit Image icon in the RTE toolbar (the icon with the red circle in the screenshot above), and that brings you to the Image Properties dialog:
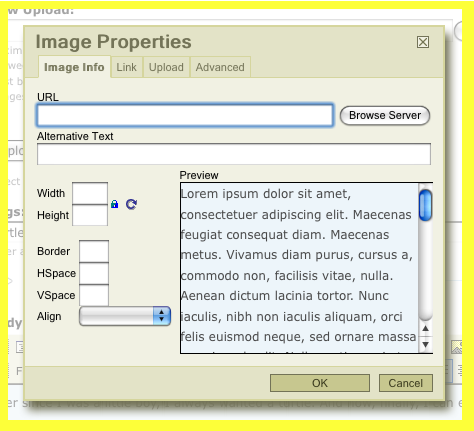
If the image is hosted on another site, you can input the image URL directly, but this is not the usual practice. Typically you want to upload the image to the DevX server. Click the Upload tab near the top of the dialog:
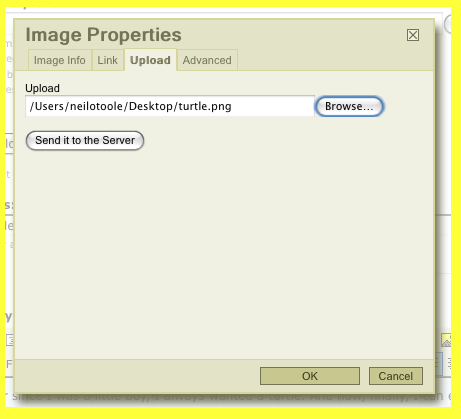
Click the Browse button to select the image from your local file-system. Then click the Send it to the Server button to upload. Once uploaded, go back to the Image Info tab:
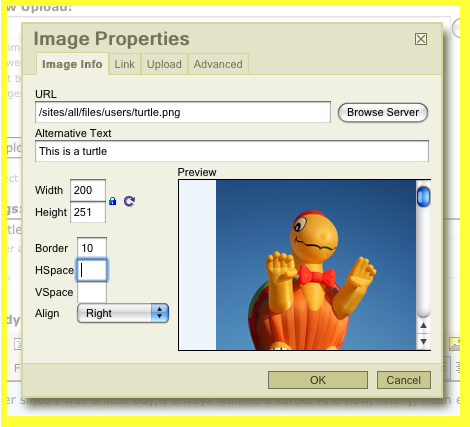
Now you can set properties for the image, such as alternate text (basically a label), the width and height, border size, spacing, and alignment. In this case the image file is bigger than desired, so set the width to 200 pixels. And we also specify the alignment, e.g. top, bottom, left, right etc. Click OK when done, bringing us back to the RTE.
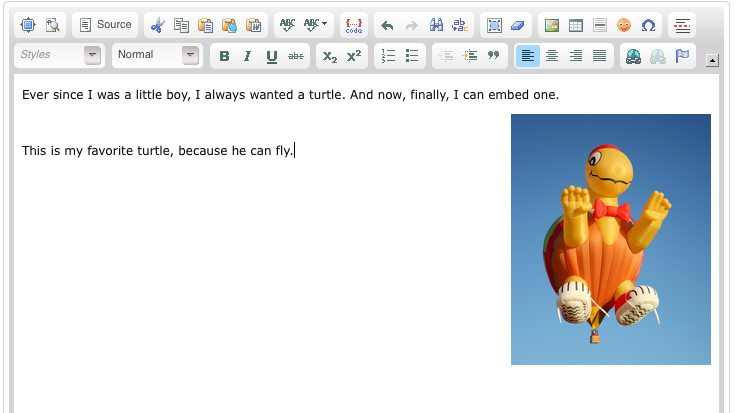
As it turns out, the right-alignment looks a little weird. So, select the image by clicking on it in the RTE, then click the Insert/Edit Image icon again, change the alignment to Left, and click OK to get back to the RTE. That looks better, so click Preview to see what your content looks like, and if you're happy, click Save to publish the content. As it happens, this turned out pretty good: